Fix SIM Card Not Supported Error While Activating Your iPhone with SAM
source:JAVOX
Here is a quick tip for those who are getting "The SIM card inserted in this iPhone does not appear to be supported" error while activating their iPhone 4/3GS/3G on iOS 4.x.x using SAM. Thanks toGti3993 for confirming that the SAMPrefs depends on the original carrier of iPhone, NOT on theICCID and IMSI of the SIM card. So, with this guide, you can activate your iPhone with ANYunofficial carrier SIM card using SAM. This will also enable fully working Push Notifications and will fix "Cannot Connect to YouTube" error on your iPhone.
")
Steps to Fix SAM: SIM Card Not Does Not Appear to be Supported Error
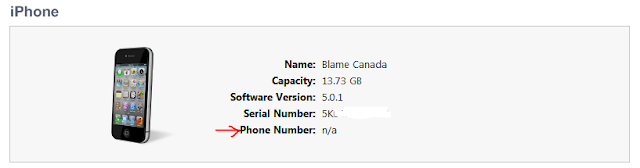
- Navigate to Settings » General » About and look for your MODEL number. In this case, i have iPhone 4 with model number MC608LL and its unlocked using Gevey SIM.
- Now you need to do little Googling and find out the official carrier to which your iPhone is locked to. In this case, my iPhone 4 is locked at AT&T (United States)
- I am assuming that you have already installed SAM on your iPhone. If not then addhttp://repo.bingner.com repo to Cydia and install SAM on your iPhone. Once installed, navigate to Settings » SAM » Utilities and tap on Revert Lockdown to Stock button. You will see Stockification Success message. If you see Stockification Failure message then it means you have not installed correct version of SAM on your iPhone.
- Now tap on the SAM button on the top-right and then tap on the Method menu. From the list, choose By Bundle Name option.
- Now again hit the SAM option on the top-right and then tap on the Bundle menu. In this case, i will be choosing ATT_US as my iPhone is locked to AT&T.
- Similarly navigate to SIM ID menu and choose your SIM ID. If you do not know SIM ID, just choose the first option.
- Once your Method, Bundle and SIM ID has been correctly configured, tap on More Information menu. You will see ActivationState as Unactivated. Connect your iPhone to your PC or Mac via USB cable and start iTunes.
- Now iTunes will generate legitimate activation packets for your iPhone. Make sure your PC or Mac is connected to an active internet connection because iTunes will try to authenticate your info with Apple servers. Once done, you will see your ActivationState as WildcardActivated.
- Thats it! Now your iPhone is officially activated. This will not only provide you with an improved battery life but will also enable fully working Push Notifications on your iPhone. You can check your Push Notifications using iPusher app. If for some reason, Push Notifications are not working, use this guide to fix them.
")

")
")
")
")
")
thank you so much buddy ::)))
ReplyDeleteits activated but still there is no service error :(
ReplyDeleteEvery single site says with great vagueness "maybe you have the wrong version of SAM" well would someone tell me what version is the "right" version and where do it get it if the cydia source keeps giving me the wrong one and i keep getting the stockify error...
ReplyDeleteThe article here will tell you a better understanding about the error of The SIM card inserted in this iphone does not appear to be supported
ReplyDelete